
 This project entailed us to recreate a scene from a book
description. I chose The Hall of Elrond
from The Lord of the Rings. I had
changed this from The Hobbit Hole from The Hobbit and then from the Dragon's
lair from the same book. I then went on
to sketching ideas as well as a perspective sketch {to both be scanned in and added} of what it would look like from my imagination rather than
from the films which helped me design everything in 3D. I knew that the setting was from the fourth
age so I looked at old styles of buildings, furniture and cutlery which helped
me again to design objects to place into the interior. I created mood-boards of my findings. The description included things such as the
great chair for Elrond sits on a dais, a chair where a woman sits under a
canopy, against woven cloths upon the wall and at the time, they were at a
feast therefore I set it just before the feast.
The interior would be fit for a king therefore I included other aspects
such a large painting of the king, fire places behind the great chair and
candle chandeliers. In another scene,
they were entering another room and it describes the type of doors. I also put a theme of red and beige marble to
fit this theme. For more inspiration, I
looked at church interiors as I decided that it would replicate this quite a
bit.
This project entailed us to recreate a scene from a book
description. I chose The Hall of Elrond
from The Lord of the Rings. I had
changed this from The Hobbit Hole from The Hobbit and then from the Dragon's
lair from the same book. I then went on
to sketching ideas as well as a perspective sketch {to both be scanned in and added} of what it would look like from my imagination rather than
from the films which helped me design everything in 3D. I knew that the setting was from the fourth
age so I looked at old styles of buildings, furniture and cutlery which helped
me again to design objects to place into the interior. I created mood-boards of my findings. The description included things such as the
great chair for Elrond sits on a dais, a chair where a woman sits under a
canopy, against woven cloths upon the wall and at the time, they were at a
feast therefore I set it just before the feast.
The interior would be fit for a king therefore I included other aspects
such a large painting of the king, fire places behind the great chair and
candle chandeliers. In another scene,
they were entering another room and it describes the type of doors. I also put a theme of red and beige marble to
fit this theme. For more inspiration, I
looked at church interiors as I decided that it would replicate this quite a
bit.


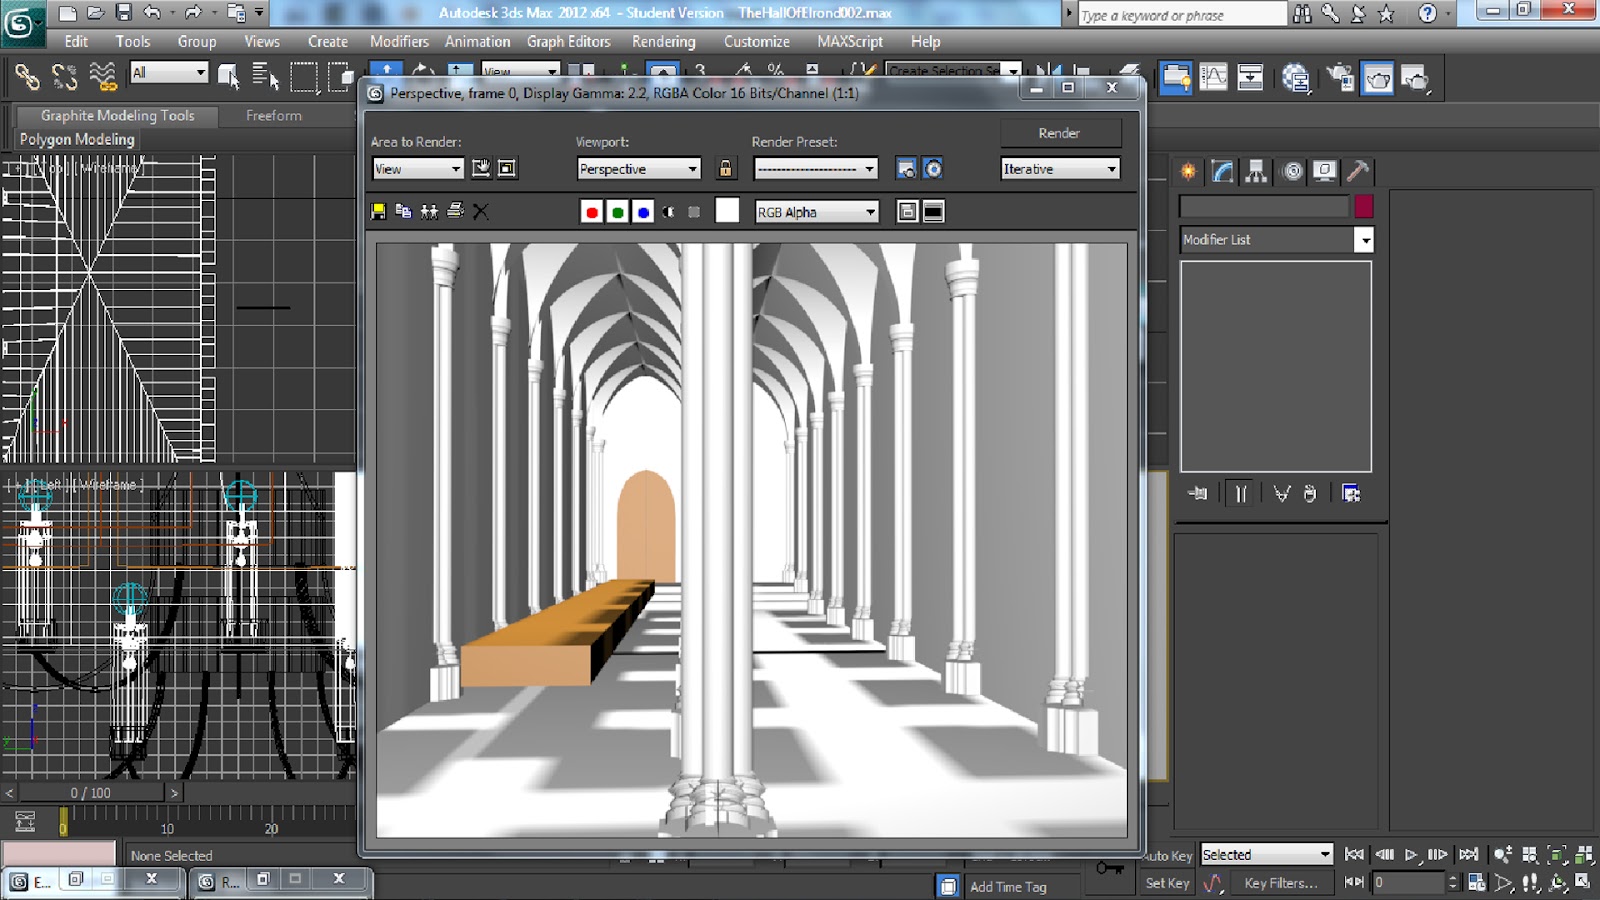
At first, I had practiced modelling several things and some
of these such as the vaults and the columns which I then developed into the
rest of the interior and I included in the design as these were very similar to
what I had designed for my interior. I
then looked at the design of the chairs I had created and modelled these as
well as the cutlery. The modelling of objects
I found very easy to do as I've had a lot of practice to do this. I used other techniques from previous
projects to model these such as the lathe modifier for the goblets and plates
and new techniques such as the loft tool for the chairs.


After modelling everything, I applied textures. I used the textures which I had photographed myself
apart from the painting of Elrond. I had
used the channel mixer on Photoshop to apply different shades of the same
material such as the marble and the wood.
I found the texturing easy to do although I feel I should have perhaps
altered the marble effect on the stained glass frames and fire place frames a
bit more to make it accurate. I also
feel I could have made my own stained glass design as I used one from the
internet.


For the lighting, I wanted to achieve an evening glow with
mainly firelight. I feel I could have
used more of a moonlight feel through the windows but this wasn't so much of an
issue. I had used a lot of lighting and
I should have used a volume effect for a natural glow. I should have also used Final Gathering which
I had applied on my still renders rather than the clip as this showed better
lighting and it looked more finalised.
This however would have taken a long time to render and it was already
taking between 3-9 minutes per frame depending on the scene. I reduced this problem by reducing
reflectivity on the marble effect as this caused it a lot. I feel by doing this, the reflections looked
more realistic and I compared it to my own fire place at home which is where
the texture was taken from initially.


The rendering of this project took a long time and I had to
use 2 machines and cut some scenes short so that it would be done on time. The end result however was still visually
done well and I am satisfied with it. I
will need to find out ways to shorten rendering times but maintain a high
quality for future projects of a similar nature.


